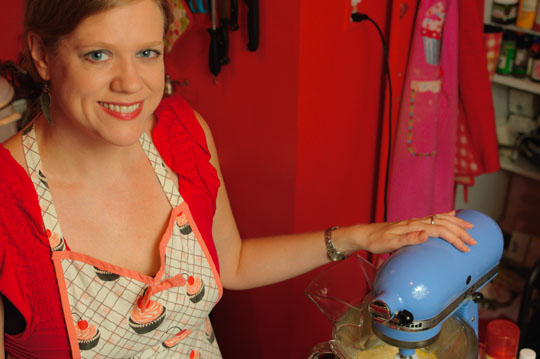
 While I won’t give away all my secrets, I thought I’d use an early post to talk about some of “my” techniques. These are mostly things every serious baker knows, I don’t lay exclusive claim to them, but they are some of the methods I use that I believe help make a cupcake the best it can be!
Baking is a science more than an art. Your ingredients need to be a certain temperature, added together at just right time, in exact quantities. Sure, you can cut some corners, but you risk ending up with hockey pucks.
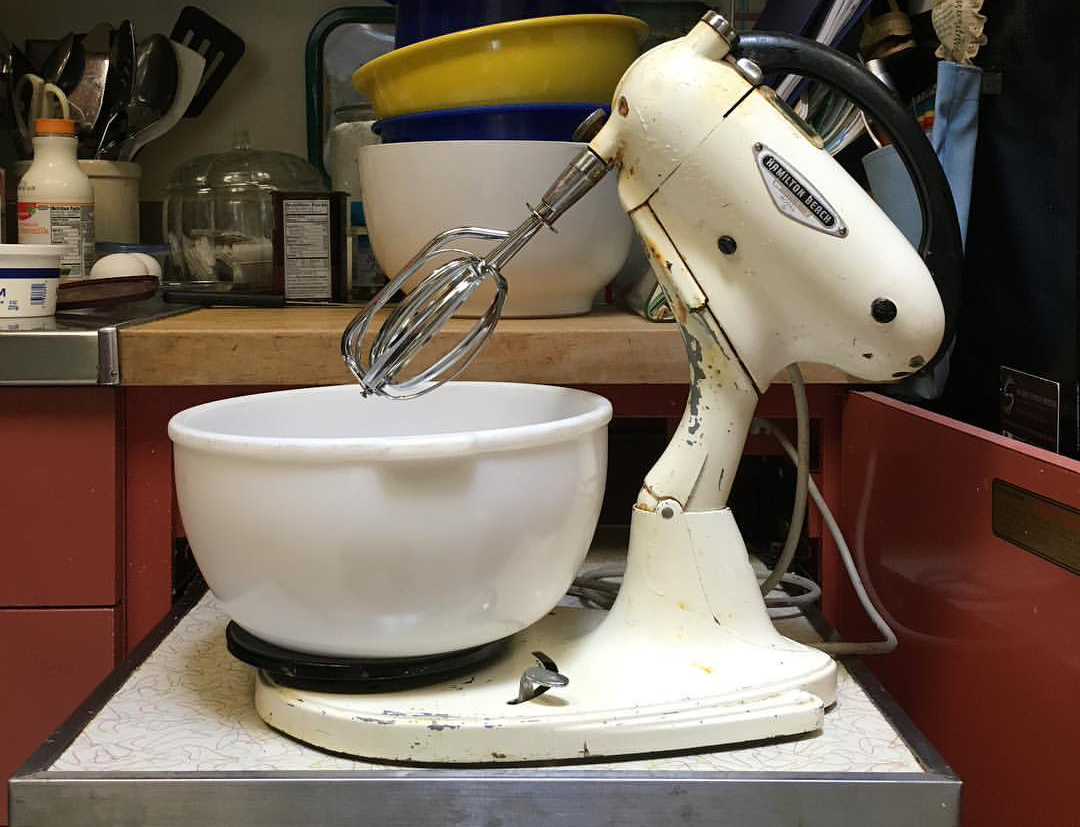
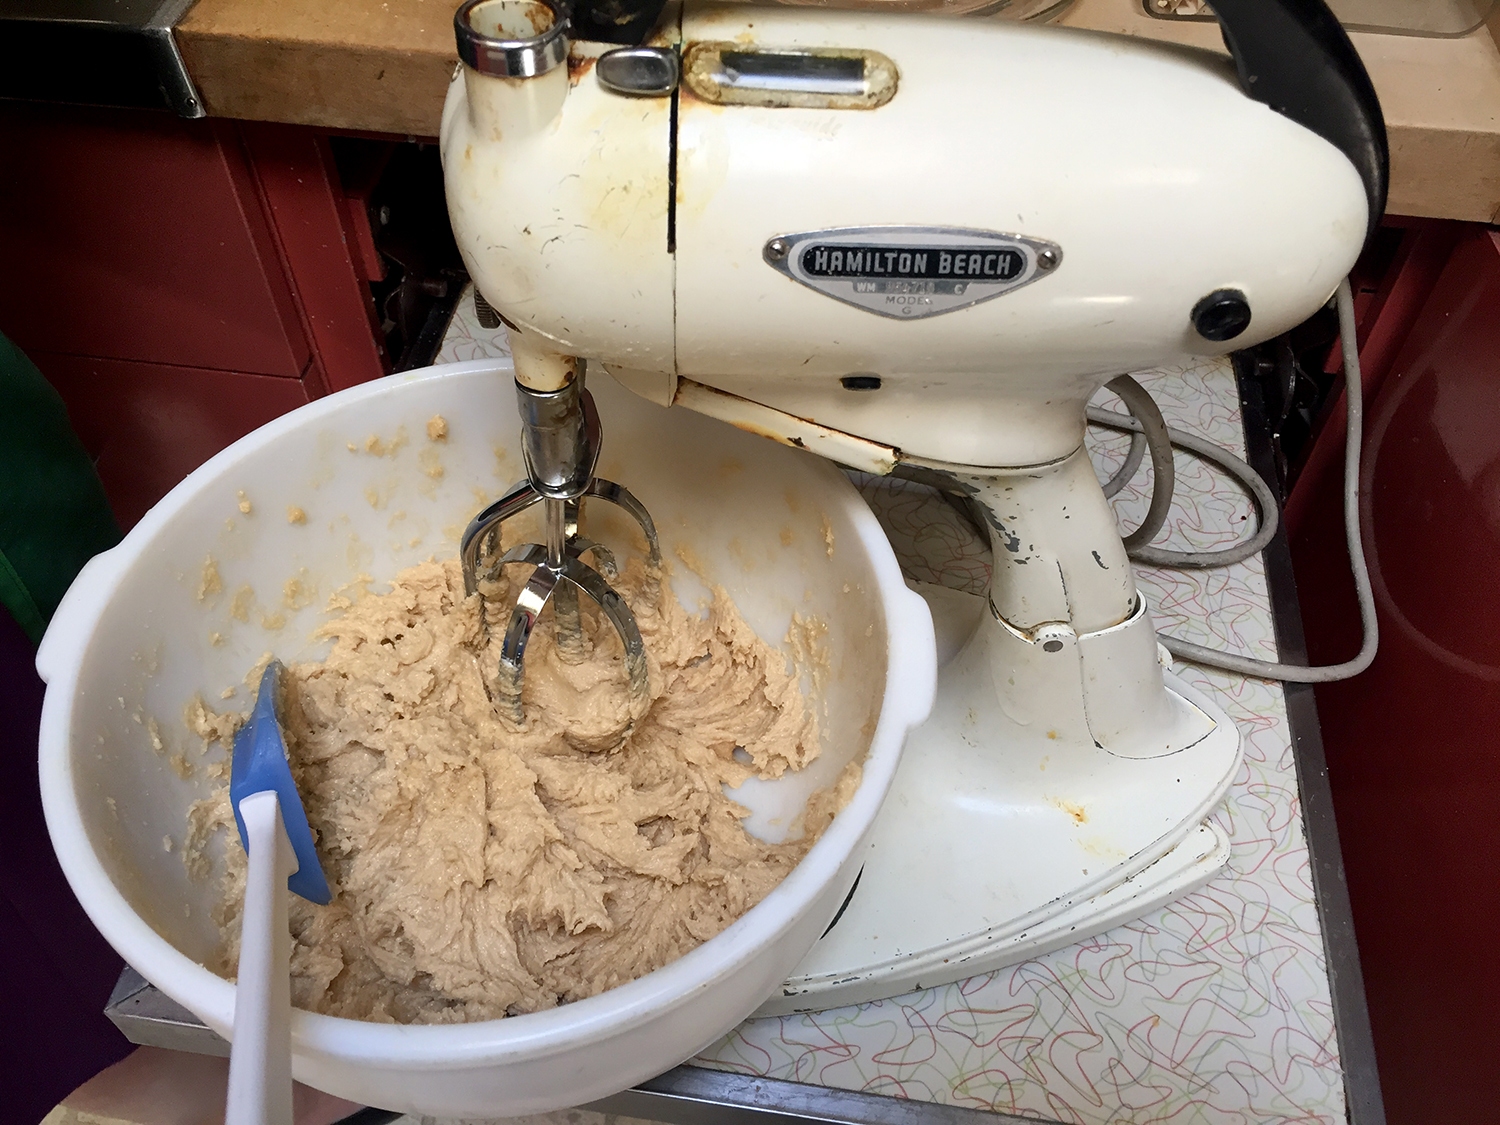
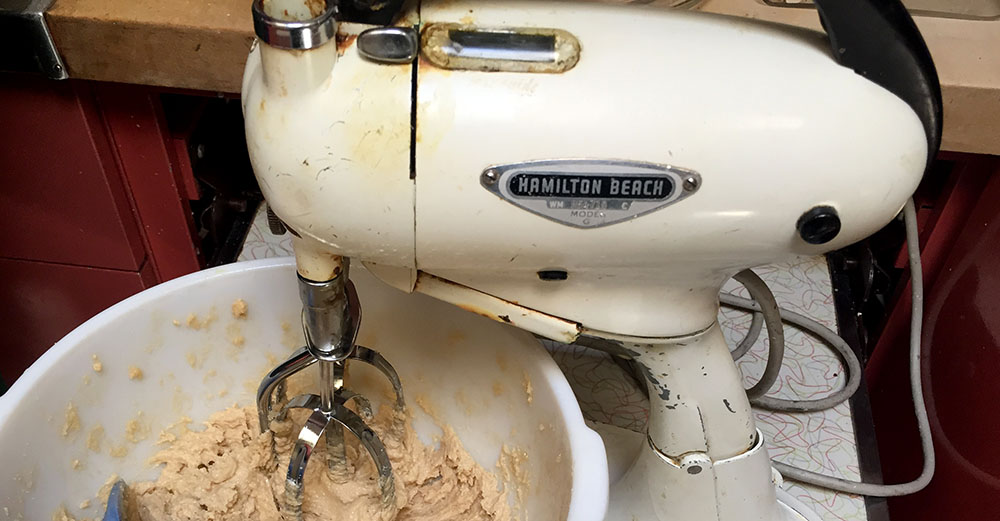
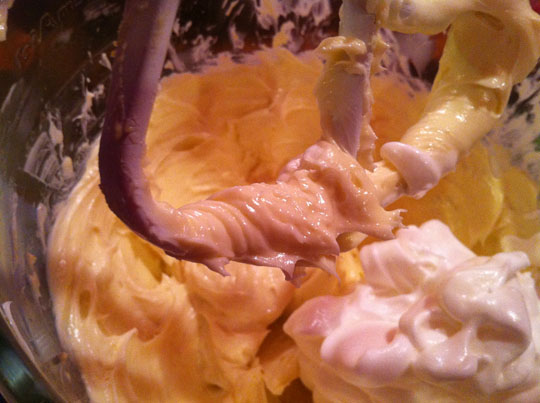
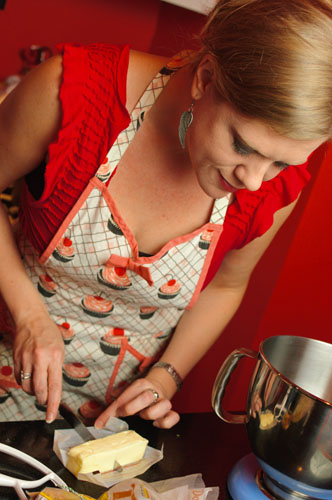 I recommend setting out your refrigerated items like butter and eggs at least an hour before baking any type of cake. However, sometimes you need to speed up the process. Cutting the butter into smaller pieces and giving it a quick zap–only a few seconds at a time–in the microwave can bring your butter to the temperature you need. I got in the habit of cutting up my butter back in the days I was limited to a handheld mixer with a mind of its own. It was challenged to even properly mix my room temperature butter. And you need to mix well, introducing plenty of air to cream the butter and sugar, which is the starting point of most cake recipes. If your butter is cold, you might end up with a lumpy mess. And, worse, your science will be off.
You also don’t want cold eggs, if you want your batter to emulsify. If you are in a rush, the trick there is to put them in warm water for, say, 10 minutes.
I almost had the opposite problem when baking over the weekend. Now that the weather is warming up, I find that my AC doesn’t quite do the job when my kitchen is in full swing with a hot oven. (I’m like the majority of New Yorkers and have only a window unit.) My room temperature was higher than I’d like, almost too warm. Anyone had issues with baking in heat? I’d love feedback on how you handle it! I was a little concerned, but it turned out ok.
 Though my Sicilian step-grandmother seems to be able to bake perfectly without a measuring cup in sight, I have to scoop and level with a flat edge (I use a dinner knife) to get the right measure. Maybe one day I’ll be able to eyeball it perfectly, but for now I need to measure and level precisely!
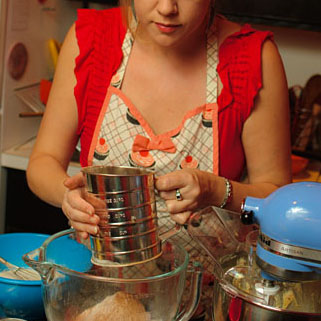
Once I have the correct amount, I sift all of my dry ingredients. I do this every time, whether the recipe calls for it or not, and even if the flour says it is presifted. Sifting leads to fluffier cupcakes. My grandmothers taught me, that’s the way it is done. I particularly remember my father’s mother using an old beat-up sifter. Even with “modern” flour, you get any lumps out and better incorporate the dry ingredients.
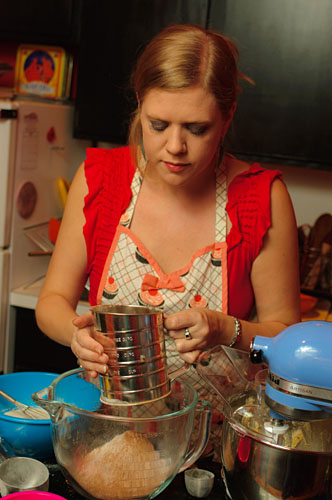
Above, I am sifting flour, baking soda, cocoa, and salt together for chocolate cupcakes.
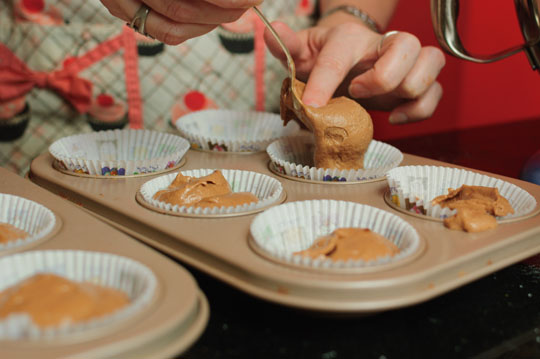
I use a heaping scoop of a round soup spoon to fill my regular-sized cupcake pans and a teaspoon to fill minis. Some suggest an ice cream scoop. I’ve been using one of my great-grandmother’s silver soup spoons for years, and it does the trick.
I always try to remember to rotate my pans midway through baking. (Thank you, Martha Stewart! You drilled that into my head, whether you know it or not.) The middle of the oven is the best place for baking, but I will also switch racks to make up for this if I am baking more at once than will fit on one.

These techniques, along with lots of trial and error, are how I am perfecting my cupcake baking method.
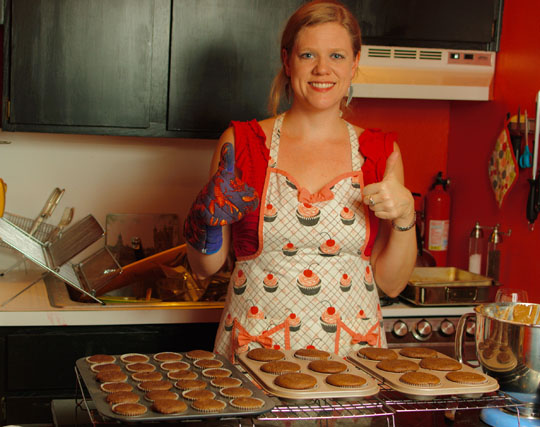 To learn more about my photographer, visit www.jasonyung.com, or view more of Jason Yung’s photos on Flickr. (Disclaimer: We’re dating, and he’s working for a lifetime supply of cupcakes.)
More photos from this post can be found in the Photo Gallery!
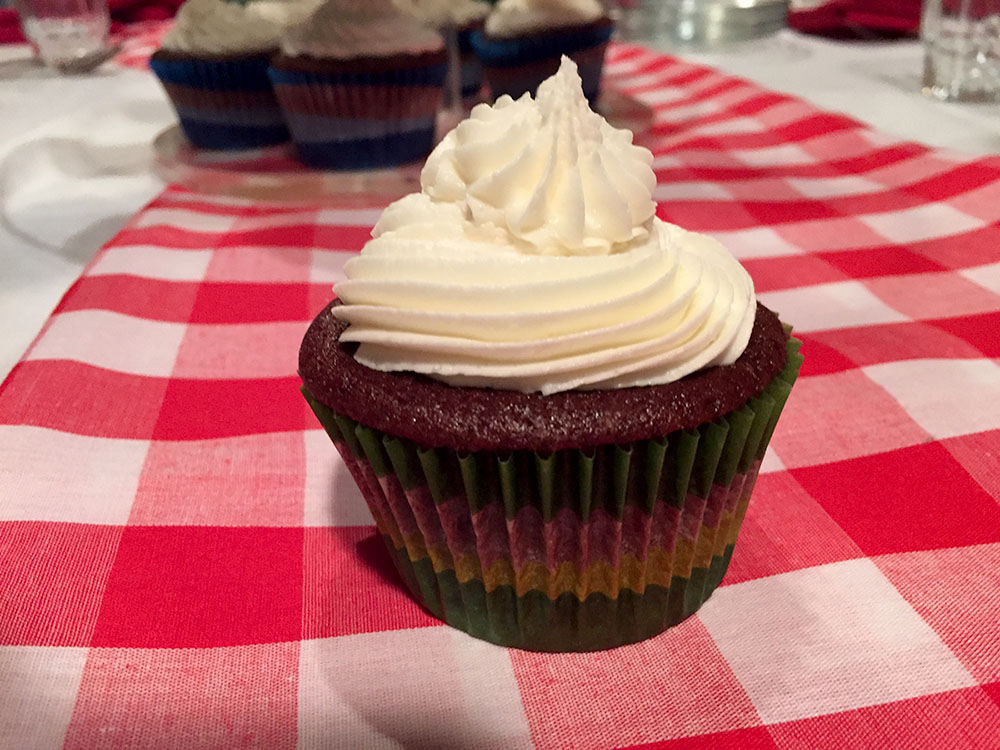


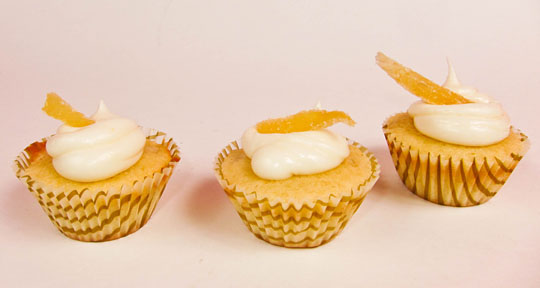 For the cake, I used the Ginger Cupcake recipe from
 While I won’t give away all my secrets, I thought I’d use an early post to talk about some of “my” techniques. These are mostly things every serious baker knows, I don’t lay exclusive claim to them, but they are some of the methods I use that I believe help make a cupcake the best it can be!
 I recommend setting out your refrigerated items like butter and eggs at least an hour before baking any type of cake. However, sometimes you need to speed up the process. Cutting the butter into smaller pieces and giving it a quick zap–only a few seconds at a time–in the microwave can bring your butter to the temperature you need. I got in the habit of cutting up my butter back in the days I was limited to a handheld mixer with a mind of its own. It was challenged to even properly mix my room temperature butter. And you need to mix well, introducing plenty of air to cream the butter and sugar, which is the starting point of most cake recipes. If your butter is cold, you might end up with a lumpy mess. And, worse, your science will be off.
 Though my Sicilian step-grandmother seems to be able to bake perfectly without a measuring cup in sight, I have to scoop and level with a flat edge (I use a dinner knife) to get the right measure. Maybe one day I’ll be able to eyeball it perfectly, but for now I need to measure and level precisely!


 To learn more about my photographer, visit
Discussion