My friend requested something with berries and chocolate for her son’s birthday, so I started thinking about the ways I could incorporate berries into cupcakes. Strawberries cooked in? Mix berries in the icing? Core the cakes and drop a fresh, raw strawberry in?
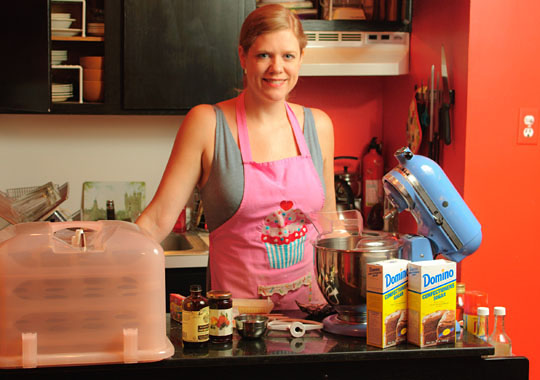
Ready to make some icing?

Then I was reading about a well-received frosting for a strawberry birthday cake that was made with fruit preserves to get around the problem of introducing too much liquid when using fresh berries. I was planning to use strawberries, blackberries, blueberries, and raspberries, so when I saw a jar of no-sugar-added berry preserves at Le Pain Quotidien that included all of the above, I snatched it up.

In my research, I came upon recipes with anywhere from one teaspoon (right…) to half a cup of preserves per batch of icing. I started with my basic buttercream with a little cream cheese–I had about 3-4 oz. leftover from something else–and added preserves a tablespoon at a time.
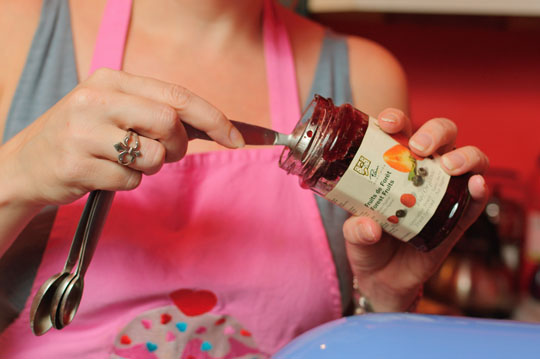
I kept going until it tasted just right.
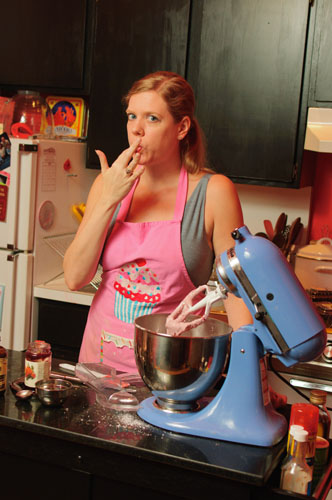
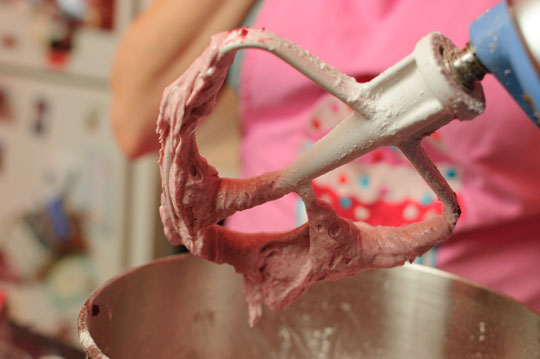
Most of the jar ended up going in, and I added some extra powdered sugar to get the right consistency. Once it was a nice flavor and color, it was ready to meet its cupcakes!
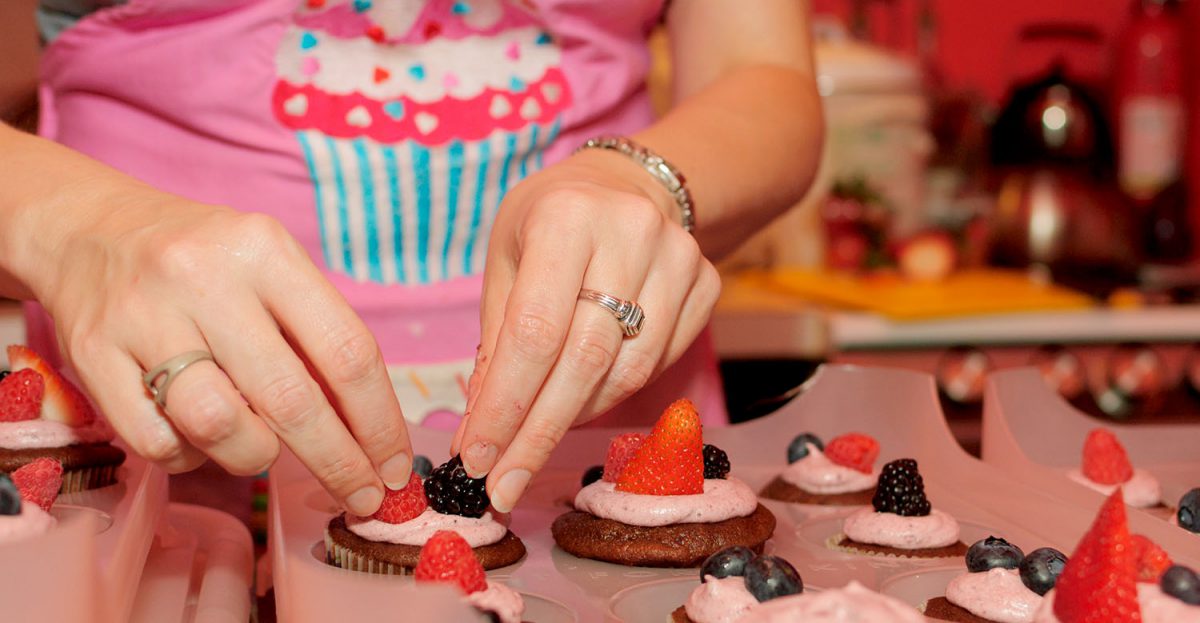
I had baked a batch of chocolate cupcakes, half mini and half regular size. I tackled the small ones first, using a basic round tip to pipe a good dollop of icing onto the cakes.
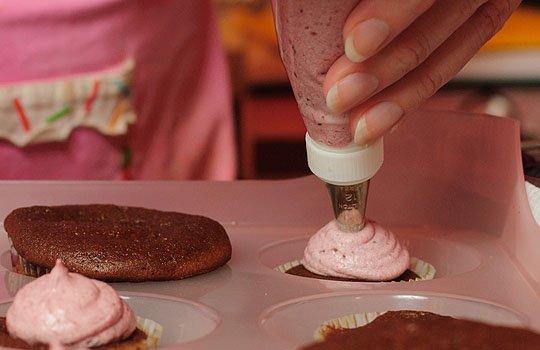
I finished them with berries, 2-3 raspberries and/or blueberries on each and some with one big, juicy blackberry. The large cupcakes got several berries or one large strawberry.
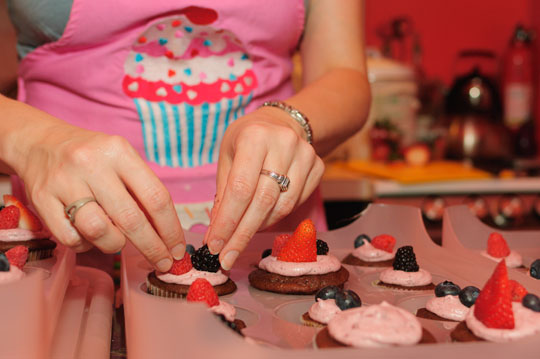
I took them off to a two-year-old’s birthday party, where they were met with high acclaim. They were quite pretty and tasty, if I do say so myself!
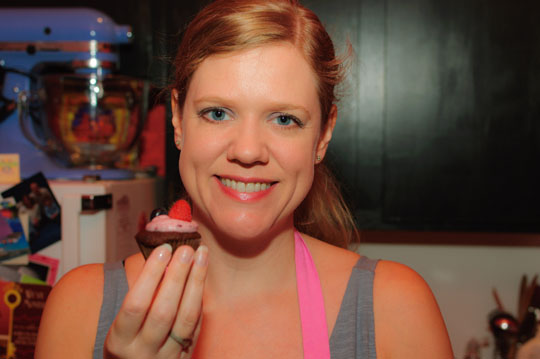
More photos from this post can be found in the Photo Gallery!

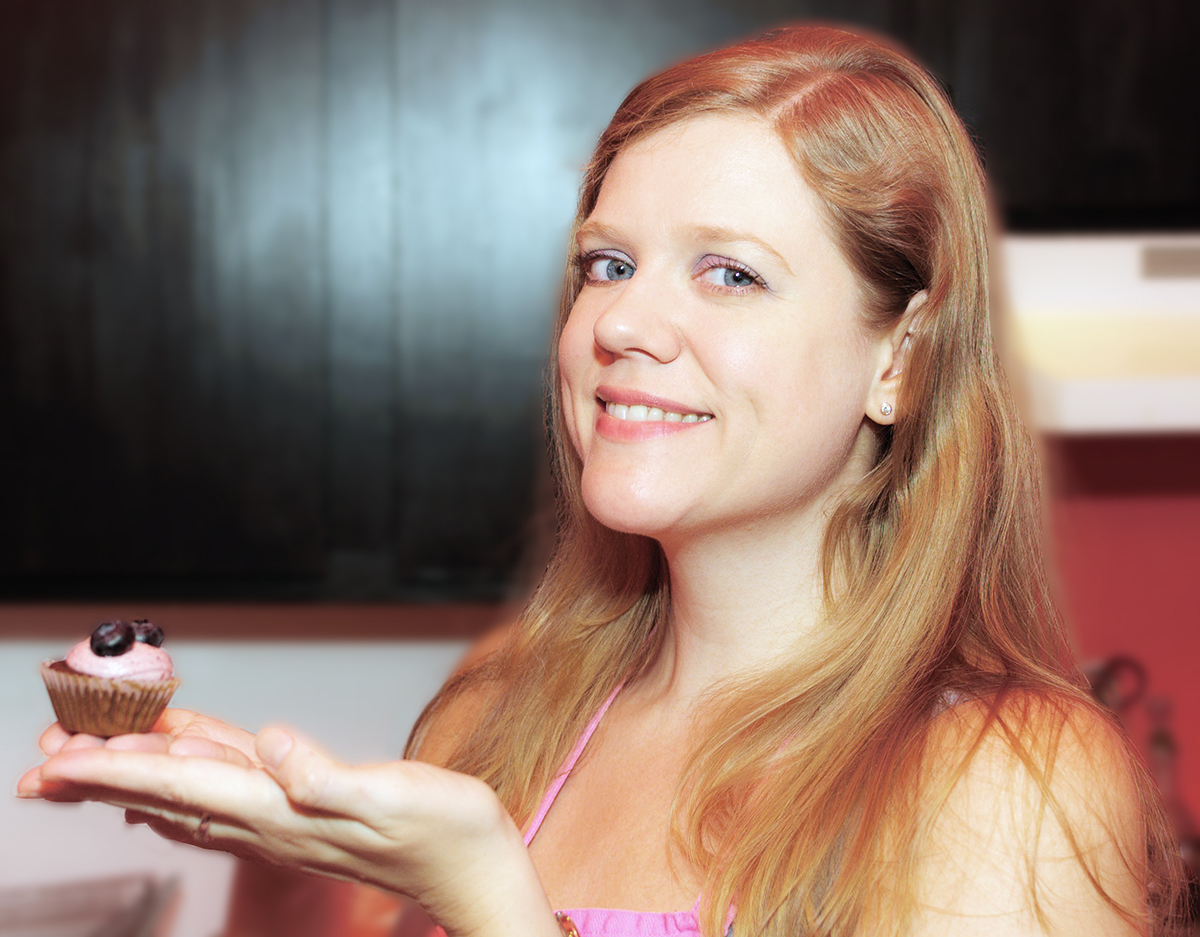
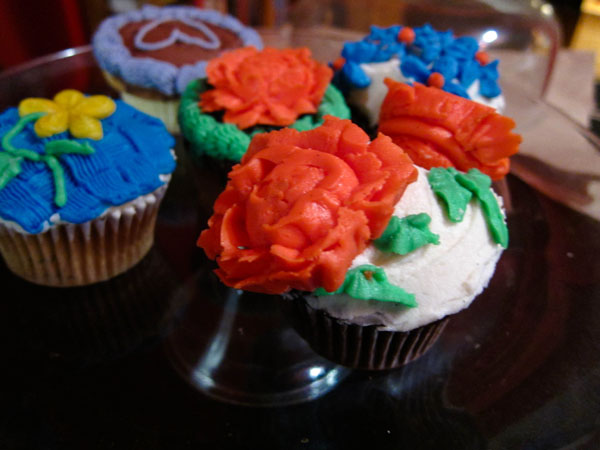
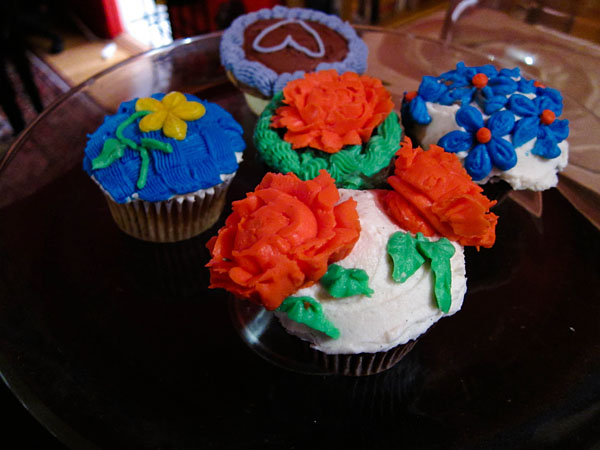
Thank you to my boyfriend for taking these beautiful photos of my cupcakes from a recent class at Butter Lane. I took their “Cupcake Decorating 101” class, a basic how-to for piping.

I’ve been baking and icing cupcakes for ages, sometimes adding fun accents, but I had not done much in the way of serious decorating with icing. I’d never really learned the proper way to use a piping bag. At Butter Lane, the teacher and assistants were very friendly, helpful, and laid-back. I recommend taking a class with them if you have the opportunity.

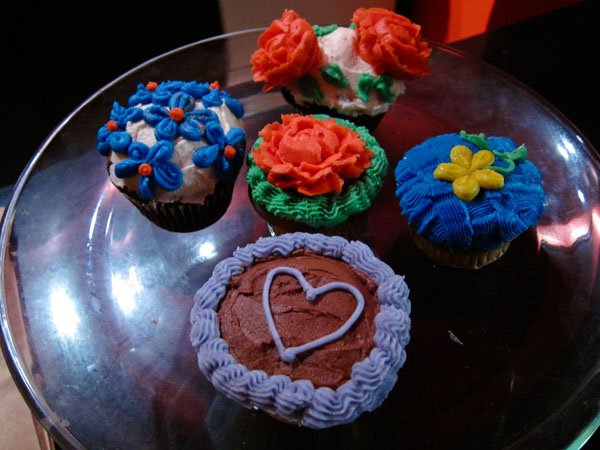
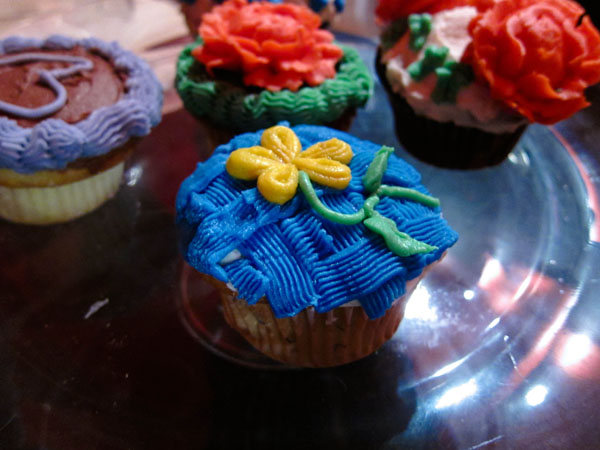
We were armed with buttercream icing, food coloring gels, a pastry bag, and a variety of tips. After coloring our icing and filling our bags, they walked us through the use of each tip, and we practiced on waxed paper. We started with the basic “writing” tip (small round decorating tip), which is what I used to draw the heart on the cupcake above.

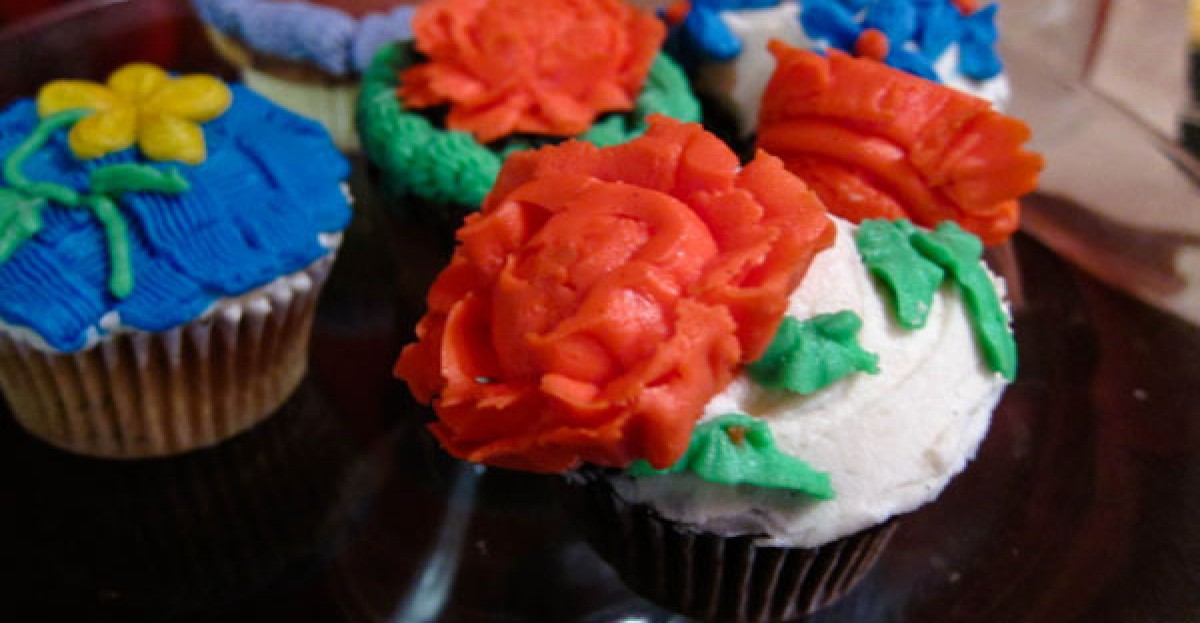
The most challenging for me was creating roses, which is done on a flower nail. The tip we used was about half an inch and had a flat, tapered shape (a Wilton #126 or similar). You start with a mound of icing on the nail, then add petals holding the wider end of the tip down and pulling out as you twirl the nail. Not easy! Challenges included keeping the icing on the nail–my freakishly warm hands heated it and caused the flower/mound to start sliding–and making the petals look, well, like petals. My three best efforts are pictured here.

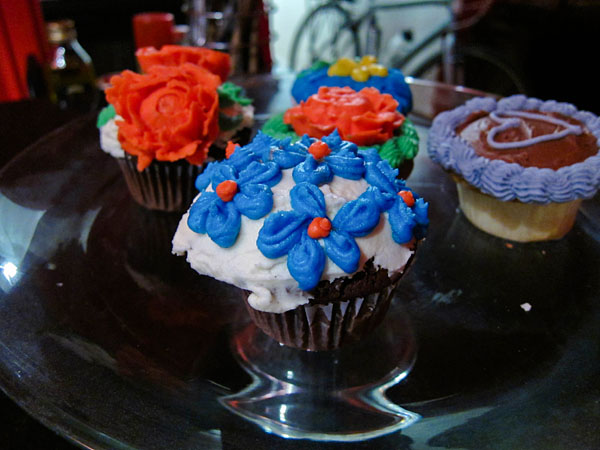
The basketweaving was fun (see the blue cupcake with yellow flower), and I felt I did the other flowers (ie. no nail involved) rather well.

I admired my handiwork for about 24 hours, then started devouring them with the help of a friend or two. Yummy!

I love Butter Lane for having cupcakes that taste good in addition to looking good. I feel so many of the cupcake bakeries that have popped up in the past decade have lost their way a bit in that department. But that’s for another post…