My mother and I had a bag full of limes and a craving for something sweet. The cover of an old magazine on her coffee table featured a beautiful lemon pie. The lemon cupcakes with lemon curd (another Martha Stewart recipe) I made for a friend’s birthday a few years ago popped into my head. “Surely I can do that with limes…”

We got on our aprons and set to work! Mama started zesting and juicing, I began mixing the batter.
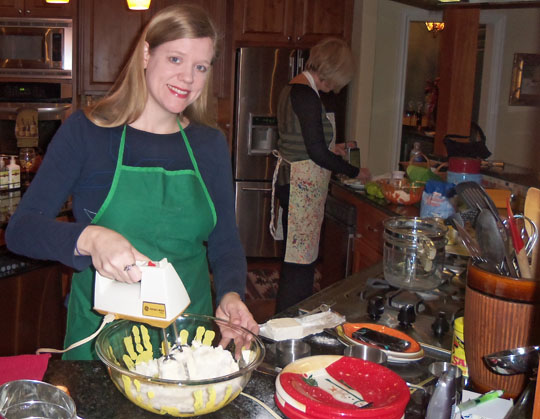
I missed my stand mixer, but I loved having extra counter space and a “sous chef.”

When it was time to separate the eggs, Mama had a surprise for me. Thank you to Kent of Follette Pottery for this amusingly disgusting gift to my mother, a nose (and ear and throat) doctor.
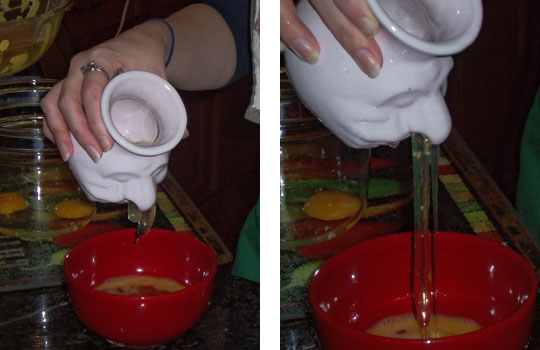
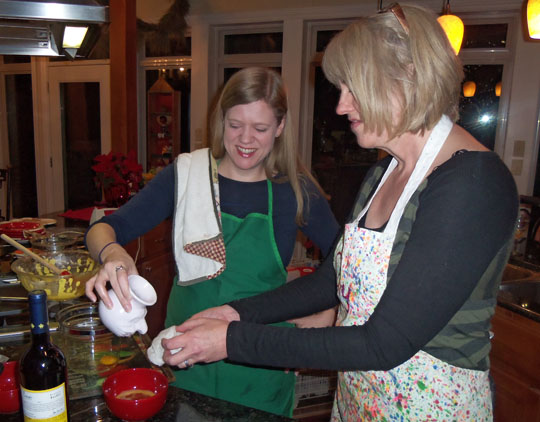
“Ewww…”

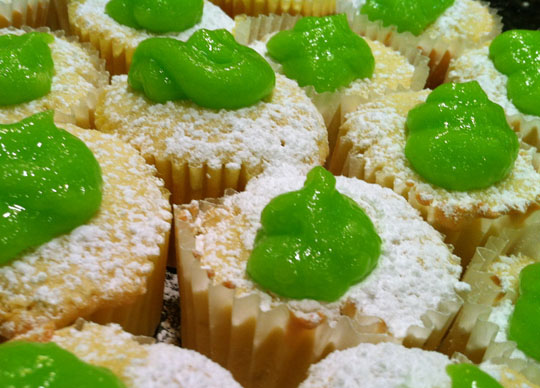
The lime curd was very yellow from the yolk. I added a drop of green food coloring. It looked awful, more slime than lime. I added a second to make it scream, “Lime!” (Or maybe… “Alien slime!”)

Martha Stewart’s recipe instructs inserting a pastry tip into the cupcake while piping to get curd in there. I didn’t have a pastry bag or tips, so I settled for a plastic baggy.  Since that wasn’t going to force any curd into the cupcake itself, I poked a hole about halfway in using the rounded end of a wooden honey dipper, which seemed about the right size (you might use a wooden spoon or similar implement). I dusted the cupcakes with powdered sugar, then piped lime curd into the holes, pooling more on the tops.
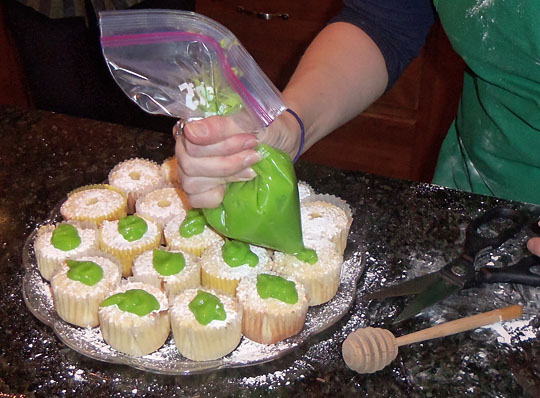
They tasted sweet and tart with a lovely lime flavor—delicate in the cake, strong in the curd.
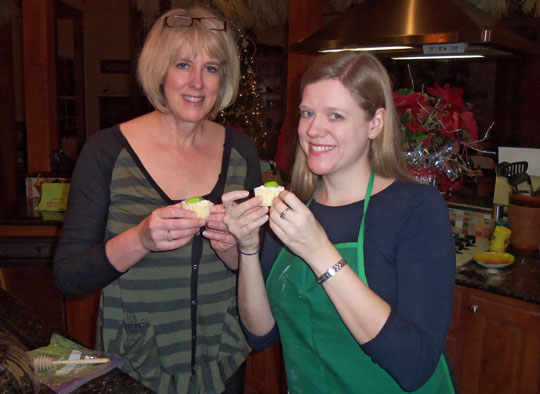
Ready to try our creations!

Below are my modified ingredients to make these lime beauties. I halved the original recipe, which makes a huge amount! Find the full recipe (with lemons) in Martha Stewart’s 2009 cupcake cookbook, it isn’t available on her website. {Update: As of May 2019, the recipe is available in Amazon’s review of the book!} For the recipe online, see Today.com.

For 21 cupcakes
1 3/4 cups flour
1 tablespoon lime zest
1 tablespoon lime juice
1/4 teaspoon baking powder
3/4 teaspoons salt
1 1/4 sticks unsalted butter
1 1/2 cups sugar
4 oz. cream cheese
3 1/2 large eggs
1/2 teaspoon vanilla extract
powdered sugar

For plenty of lime curd
1 whole egg
4 egg yolks
1/2 cup sugar
1/3 cup lime juice
1 tablespoon unsalted butter
green food coloring (optional)

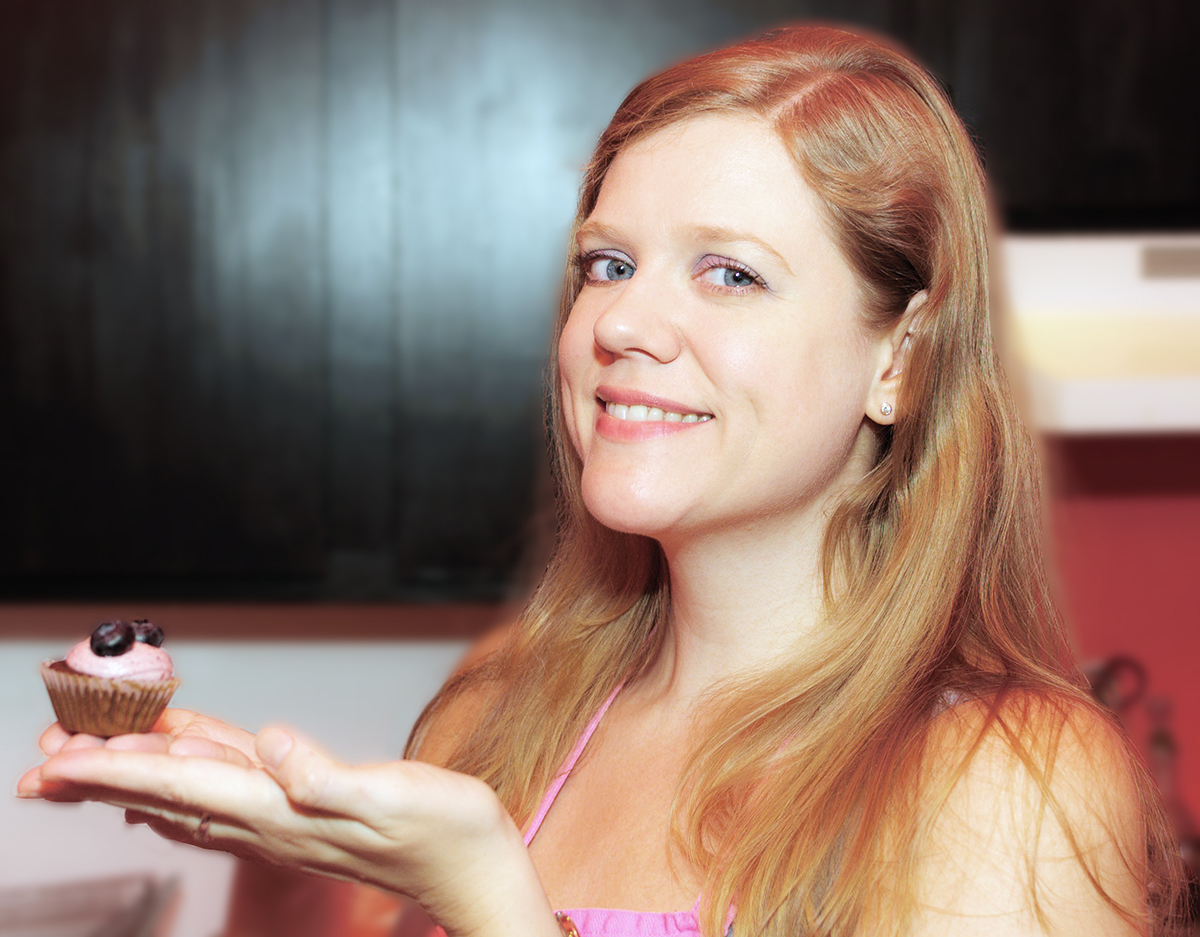
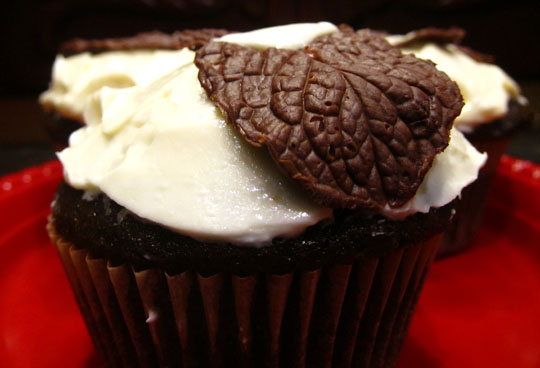
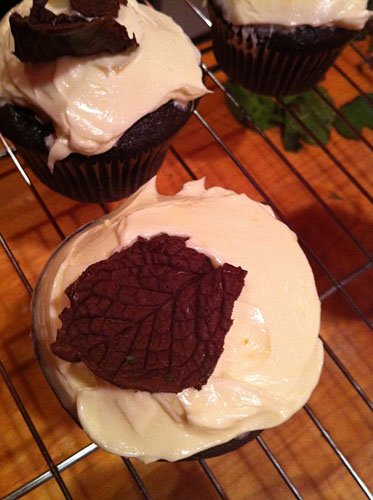
I wanted to make something special for a holiday party, so I decided to tackle Martha Stewart’s Chocolate Mint Cupcakes, complete with mint chocolate leaves. The recipe can be found online and in her cupcake cookbook.

mint chocolate cupcake
(Photo by Jason Yung)

I’m not ashamed to say that I am a Martha Stewart devotee. Some of her instructions in recipes and craft projects may be a little obsessive-compulsive, but she knows what she’s talking about. These cupcakes were more time intensive than others I’ve made lately, but they were worth it.

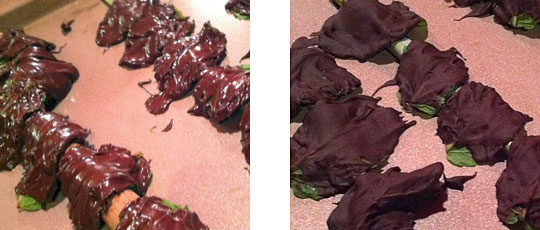
First, the leaves… It sounds a little crazy, but Martha’s recipe has you paint chocolate onto the back of mint leaves with a brush (one version says to use a paintbrush, the other indicates a pastry brush), refrigerate them, then peel off the mint leaf.

chocolate mint leaves
Mint leaves, newly painted (left) and after refrigeration (right)

What’s even crazier is that it worked! The chocolate leaves really came out looking like mint leaves. It was tedious to peel off the mint (I used sanitized tweezers), some broke, others melted with a touch of my hot fingers. However, I ended up with enough good-looking leaves to add one or two to each cupcake.

The cupcakes themselves were easy enough, though I felt the batter was especially thin. Noticing this as I mixed it, I added an extra 1/4 cup of flour. I know, going against Martha’s directions, but it felt like the right thing to do.

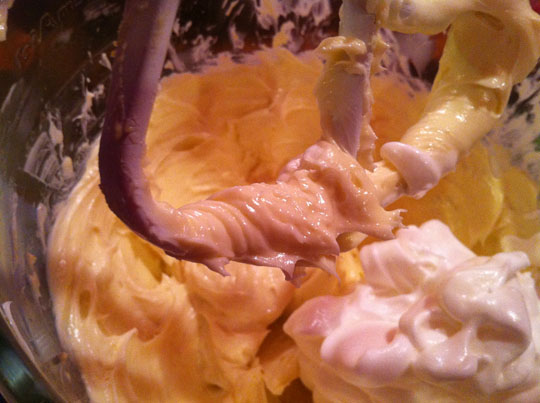
It was my first time doing this type of buttercream (a meringue buttercream of the French variety, involving yolks in addition to the egg whites), and I don’t think I realized what I was getting into. I was very glad to have 2 mixing bowls. I used my metal bowl for the steps requiring cooking in a double boiler (yolks/milk/mint and whites/sugar), washing it quickly in between, and the glass for the butter and final whipping.

meringue buttercream
Mixing the meringue into the minty butter-custard mixture

The frosting came out rich, but it was also light at the same time. It is very buttery, and might not be a match for all types of cake, but it works well on these particular cupcakes, in my opinion.

I iced the cupcakes a few at a time, peeling off mint from a chocolate leaf or two (fresh from the refrigerator or, after staying out a bit too long, the freezer) to add to each. I was pleased with the way they turned out.

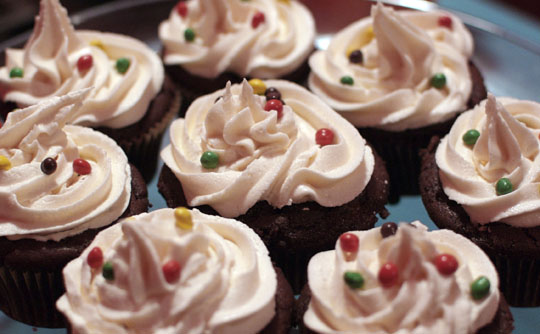
mint chocolate cupcakes

Some who tasted them claimed they were amazing. They were on the rich side for me. I liked them, but one was plenty!

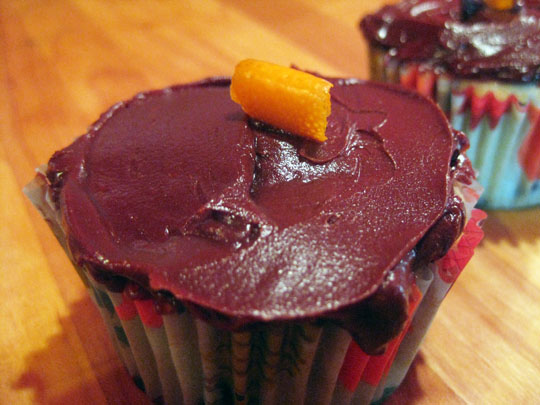
orange chocolate chip cupcakes

Semisweet chocolate and orange are a great pairing, and I had an inkling that the hostess of a dinner party I was attending was a particular fan of orange and chocolate together. It also seemed a fitting flavor for the holiday season.

I used this recipe from Epicurious. Based on the comments, many of which indicated the cupcakes came out a little dry, I made some alterations. I used a stick of butter (8 tablespoons), instead of just 5 tablespoons, and I added the juice of the Florida Juice Orange I zested to the batter.

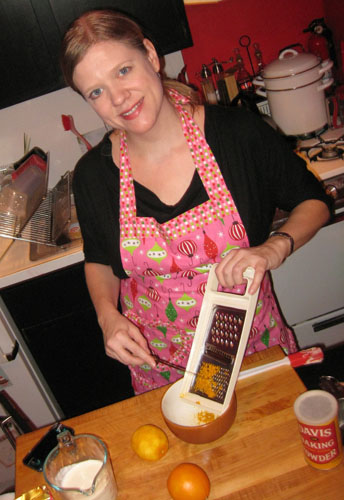
zesting orange
Getting the good stuff—orange zest!

They turned out dense and moist. I thought they had a good flavor of the orange without being overwhelming. The recipe made exactly a dozen.

The frosting was made by melting semisweet chocolate chips and stirring in heavy cream. It was very thin and required some time in the refrigerator, then the freezer, to get it to spreading consistency.

I finished them with a curl of orange peel, and packed them up for the dinner. My hosts—and their two-year-old son—seemed to think it was a lovely dessert!

Caramel Chocolate CupcakesMartha Stewart included a recipe for Salted Caramel Chocolate Cupcakes in her 2009 cupcake cookbook, and there are countless posts web-wide about trying it out. I’ve had it requested a few times, and with a house guest as a captive taste-tester, it was time to try my hand.
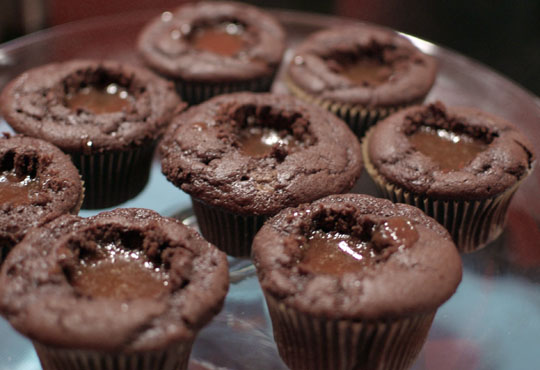
Round #1

I followed the recipe for the Salted Caramel Filling from the cookbook, but I  used full-sized chocolate cupcakes from a different one (not as dense as Martha’s, see below).

I made my first caramel a year or so ago and had absolutely no problem and a beautiful, delicious result. This time, however, I burned the first batch of caramel. It seemed to be taking awhile to get up to 360°, so I started coring the cupcakes. Mistake! It might take awhile to get started, but that molten sugar’s temperature can spike suddenly.

The second batch did not burn, but my choice to use milk instead of cream was a poor one. I had milk on hand and thought “Why not avoid a trip to the store and make it healthier to boot?” Not sure what got into me!

The filling tasted right but was quite thin. It soaked right in when I spooned it into the prepared cupcakes. I added more but stopped when I felt I might be overdoing it.

Salted caramel filling cupcakes

I filled the extra space with icing, vanilla buttercream with a hint of the caramel.

Frosted Caramel Cupcakes

One friend, tasting the cupcakes, kept commenting about how wet they were. Not in a bad way, so she said, though “wet” is not an appetizing description of a cupcake in my book. (Note that she happily ate more than one!) Perhaps I should have called this batch chocolate bread pudding with salted caramel sauce.

Round #2

I found a slightly different recipe on MarthaStewart.com (Caramel with Salt from Baked in NYC), which adds sour cream, more corn syrup, and has more precise instructions, and decided I’d like to try it out.

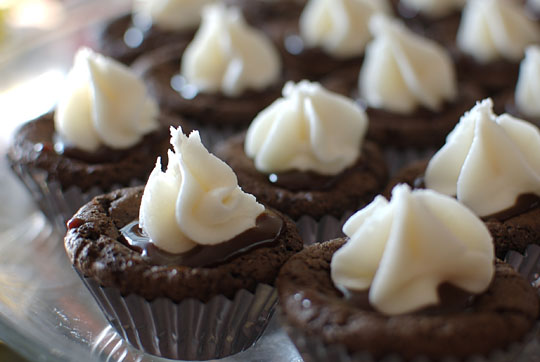
This time I followed Martha’s recipe for the mini chocolate cupcakes. The batter was some of the densest, darkest chocolate I’ve made in awhile. It’s probably what the salted caramel really needs to balance out its flavor. They fell in the middle when cooling, so I did not core them, just filled in the space.

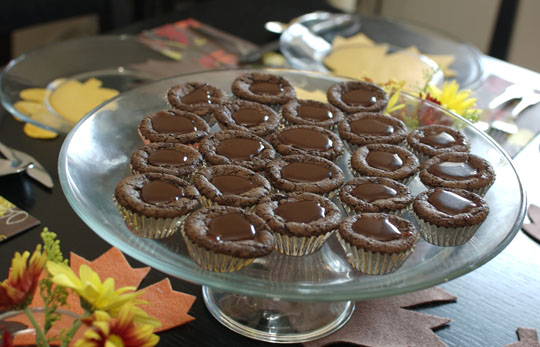
Caramel in Mini Chocolate CupcakesSuccess! Round #2 turned out as intended. I also think the small cupcakes work better for this rich, complex combination of flavors.
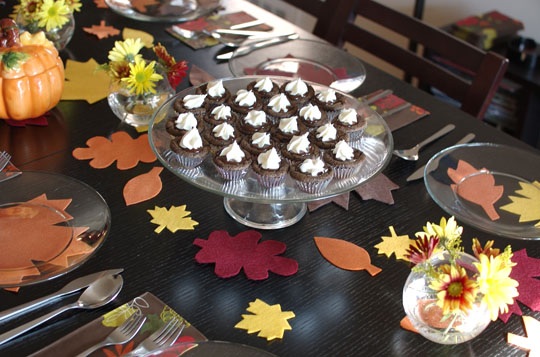
Cupcakes on table

Pumpkin Pie and Chocolate Cupcakes

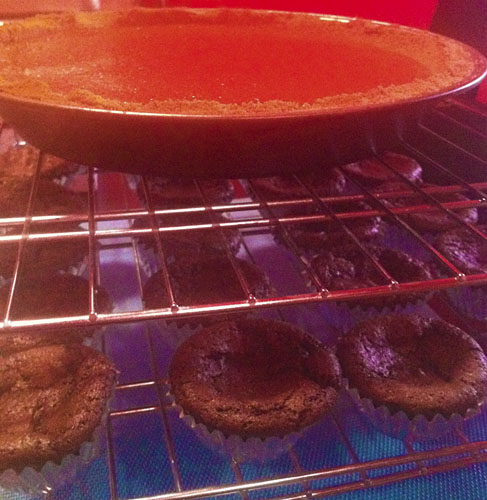
These cupcakes appeared on my Thanksgiving table. While baking them, I also made a pumpkin pie using Alton Brown’s version with a gingersnap crust. I recommend it, see the recipe here! I served it with heavy cream whipped with a little sugar and maple syrup brandy.

A Halloween weekend party was supposed to be an outdoor BBQ, but an unseasonal snowstorm in New York put a literal damper on that. The party went on, indoors, and I showed up with my own inside variation of a campfire favorite—s’mores.

Inspiration

Since trying a S’mores cupcake from Magnolia (see “NYC Cupcake Crawl I: Magnolia Bakery“), I’d been wanting to try my own version. Our complaint about Magnolia’s was that, while tasty, it needed more chocolate and more marshmallow to really be a S’mores. Theirs had a graham cracker cake with a marshmallow-chocolate topping. I turned that on its head, baking a chocolate cupcake and putting the graham cracker, chocolate, and marshmallow on it.

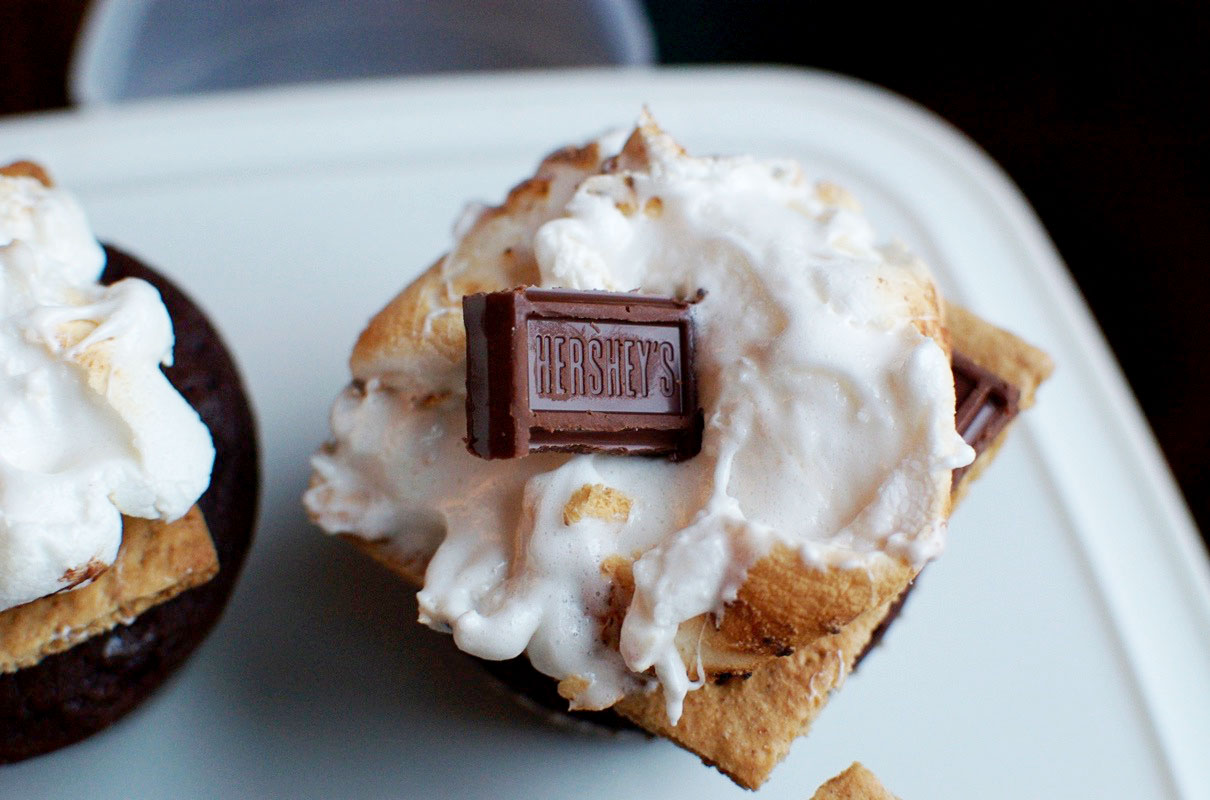
s'mores cupcakes

I baked a batch of chocolate cupcakes using one of my go-to recipes (the same I used here).

Assembly

While they cooled, I assembled my supplies:

  • Graham crackers
  • Hershey’s bars
  • “Glue” (cinnamon and chocolate icing)
  • Wooden chopsticks
  • Marshmallows
  • An open flame (burner of my gas stove)

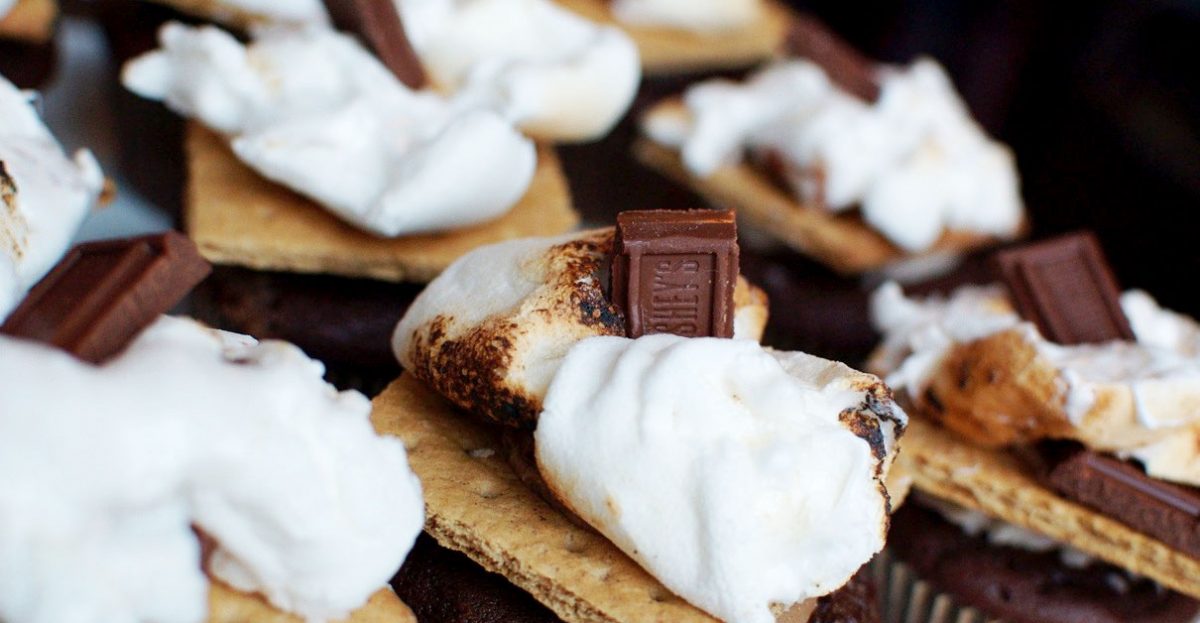
I glued a square of graham cracker to each cupcake with leftover icing I had frozen from other recent projects and stuck two pieces of a Hershey’s bar on top. My thought was that the roasted marshmallows would melt the chocolate and hold it all together. In practice, the stability of my construction was questionable, however, so I also used some icing to glue the chocolate squares to the graham cracker. (No one complained about the extra icing!)

Roasting!

It was a perfect chilly day to grab a friend for roasting marshmallows. We skewered the sweet white puffs on chopsticks and held them over my stove, as snow fell outside my windows. A properly roasted marshmallow takes patience, I remembered from childhood campouts and hayrides. We did our best, but a few went up in flames, and getting the freshly roasted marshmallows onto the cupcakes was a little messy. But isn’t that the way it is supposed to be?

Thanks go to my sister-in-law for brainstorming this concept with me and to Jen (who was also my photographer for this post) for helping roast the marshmallows and wrangle their super-sticky goodness.